
Use voice and attachments
Bring a document, image, or recording into a lesson and recover when speech or file handling fails.
On this page
Attach material with a question
In chat, open More actions and choose Attach files. Add your file, then say what you want to do with it: explain a passage, examine a diagram, compare two approaches, or make practice from a section. Check the attachment chips before sending and use Remove attachment if you selected the wrong file.
Chat accepts images, audio, readable text files, and PDFs. The selected model must support the input you send. For an image, choose a model that accepts images; a model that only accepts text cannot inspect the picture just because it is attached.
Use PDFs with readable text
Keating extracts text from PDFs for the conversation. A scanned PDF with no readable text needs optical character recognition before attaching. PDF text extraction is not a guarantee that every diagram, layout detail, or equation was preserved.
If a file fails or the model says the conversation is too large, try a smaller excerpt or remove the newest attachment. For a diagram, attach an image with an image-capable model and identify the part you want to discuss. Keep the original file available so you can check the response against it.
Record a message and check the transcript
Choose Record an audio message to open the recording controls. Use Hold to speak, allow microphone access when your browser requests it, and release when finished. Keating attaches the recording and attempts transcription when speech credentials are available.
Read the transcript in the composer before sending and correct names, numbers, or technical terms. Switch to keyboard returns to text input. If transcription fails, the recording can remain attached; the notice says Your audio is still attached when that is the case.
Set up speech or a live conversation
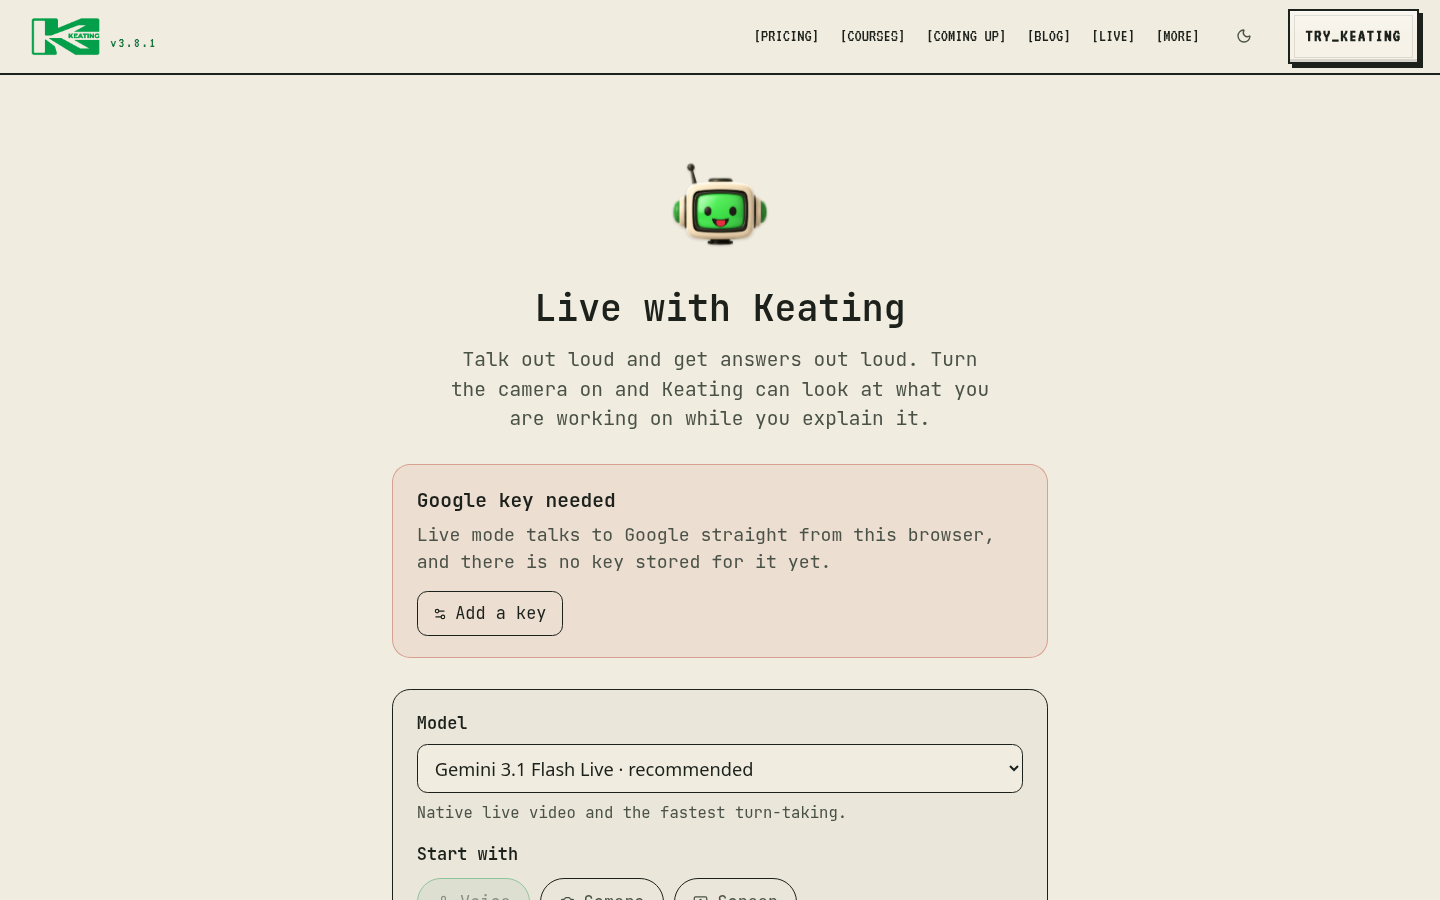
Open Settings, Learning, Speech & Voice to choose speech options. The speech provider can differ from the main chat model and may need its own credentials. Live conversation requires a compatible live provider and browser microphone access; speech output alone does not establish live conversation support.
Use Start a live conversation when your configuration supports it. Start with a short exchange to check that you can hear the tutor and that it can hear you. Available visual inputs depend on the live provider and model, so use the options shown for your current configuration.
Recover without losing your recording
For Transcript unavailable, check the speech provider credentials and use the offered transcription retry. You may instead send the recording to an audio-capable model. If you want to send only a transcript you typed yourself, remove the audio attachment first.
For a microphone error, check the site's microphone permission and your selected input device, then try recording again. If the optional speech layer fails, turn speech off and continue with text; the main chat model may still work.
An attached recording, a completed transcript, and a successful model response are separate steps. Check which one failed before recording again or removing the attachment.